Building a Component Library That Actually Works
Step-by-step approach to organizing components, creating variants, and documenting them so your team actually uses them.
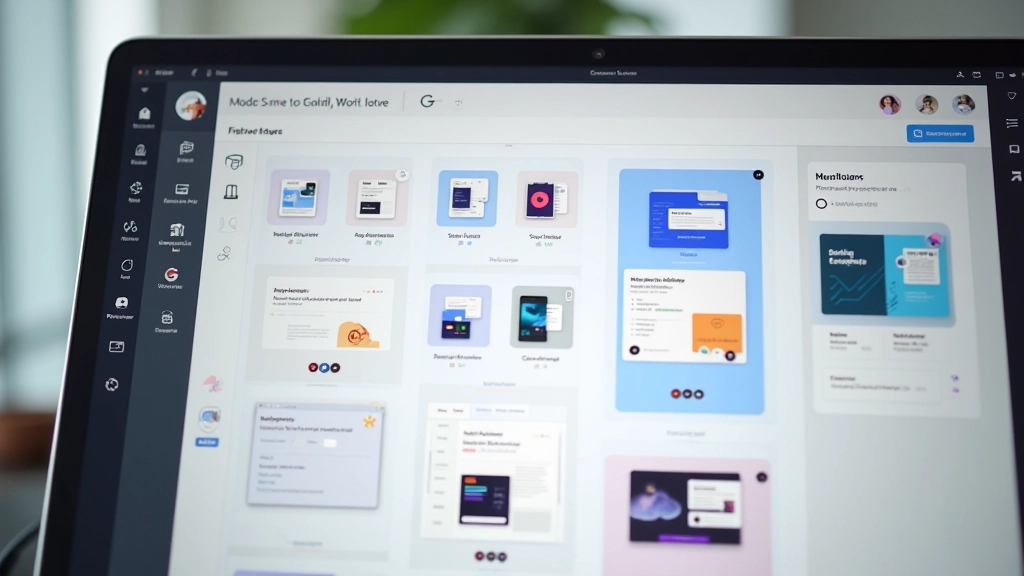
Read moreLearn how to create prototypes that feel like the real product—without writing a single line of code. We’ll walk through interactions, animations, and user testing approaches that actually work.
Here’s the thing—most teams jump straight from static mockups to development. Then they realize halfway through that the interaction flow doesn’t work the way they imagined. Users get confused. Developers rebuild. Everyone’s frustrated.
Prototyping bridges that gap. It’s where you test your ideas with real interaction patterns before any code gets written. You’re validating assumptions, finding problems early, and building confidence in your design decisions. The best part? You don’t need to be a developer to create something that feels genuinely interactive.

Not all interactions are created equal. You’ll want to think about three different layers when building your prototype:
Small feedback moments—a button changing color on hover, a form field showing validation feedback, an icon rotating when you click it. These aren’t flashy, but they’re what make interfaces feel responsive and alive. Users notice when they’re missing.
The paths people take through your product. Sign up confirm email create profile dashboard. Navigation between screens. Modal dialogs that appear and disappear. These define how users actually move through your design and where they might get stuck.
Transitions between states, loading animations, and visual feedback for system actions. These help users understand what’s happening—especially when something takes time. A 200ms fade-in communicates something different than an instant appearance.
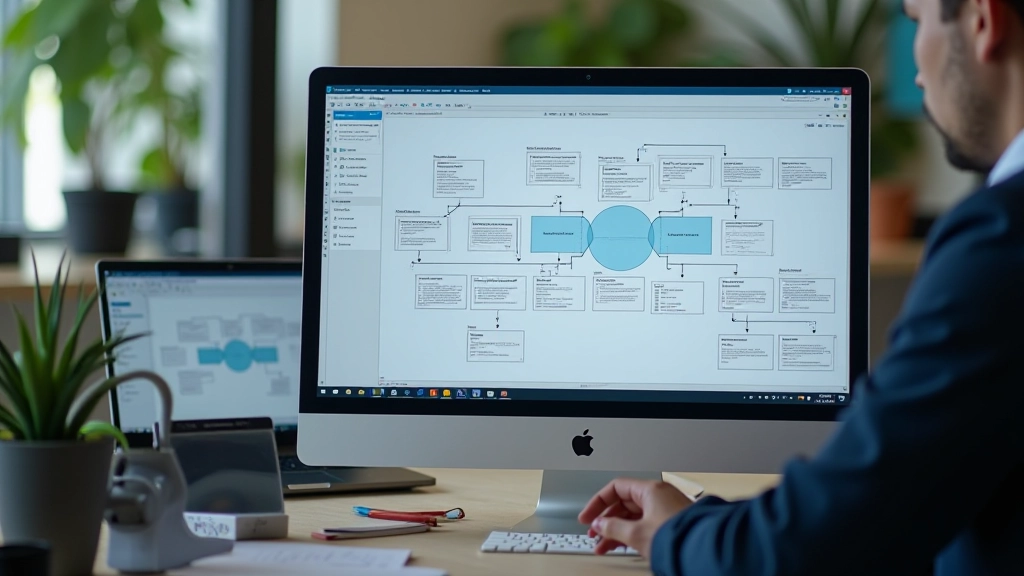
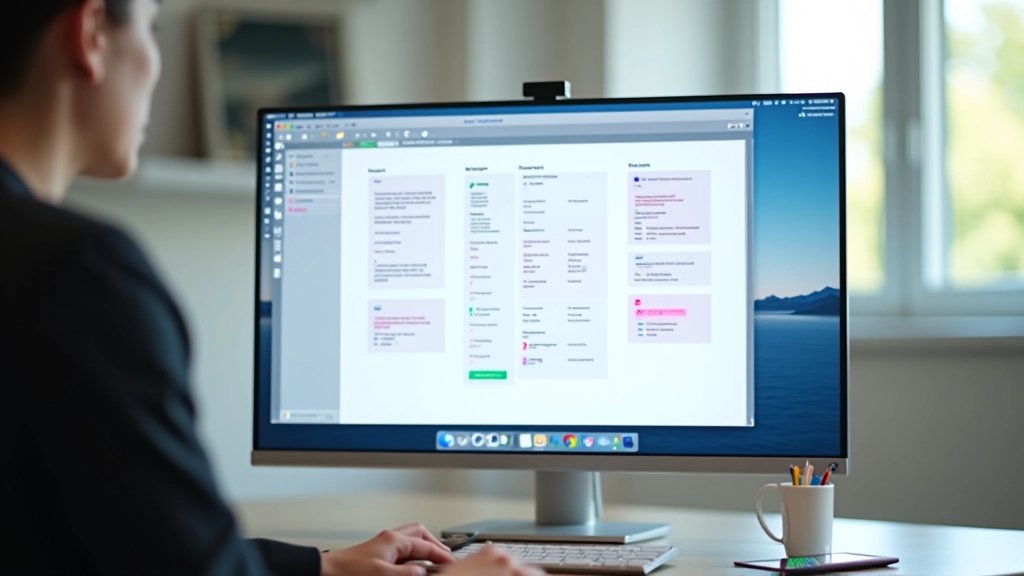
Start by organizing your frames logically. We typically create a main screen, then duplicate variations for different states—hover states, error states, loading states. This doesn’t mean making separate mockups for everything. You’re being strategic about what actually needs to be interactive.
Name your frames clearly so you can track them as your prototype grows. Something like “Button – Default” and “Button – Hover” tells you exactly what you’re looking at. When you’ve got 40+ frames, this becomes your lifeline.
The key insight: you’re not building every pixel of the final product. You’re building enough to test whether your interaction patterns work. That might be just a few screens with connection lines between them, or it might be a more complete flow with multiple micro-interactions.
Here’s where prototyping gets interesting. You’re not just designing static screens anymore—you’re designing motion and response.
Start simple—hover on a button, click on a link, tap on a card. In Figma, you’re connecting these triggers to specific actions. A button might trigger a “change to” interaction that swaps the current frame for a different one.
Don’t make everything instant. A 300ms transition feels deliberate and polished. Instant changes feel jarring. You’re not just moving between frames—you’re creating a sense of continuity. The animation speed tells users that the system is responding thoughtfully.
Linear motion feels robotic. Ease-out (fast start, slow end) feels natural and polished. Most interaction animations work best with ease-out—it mimics how real objects move in the physical world. Ease-in-out works for longer animations.
Build in visual confirmation that something happened. A loading spinner. A success message. A button changing color. Users shouldn’t have to guess whether their action registered. The prototype shows exactly what feedback they’ll get.
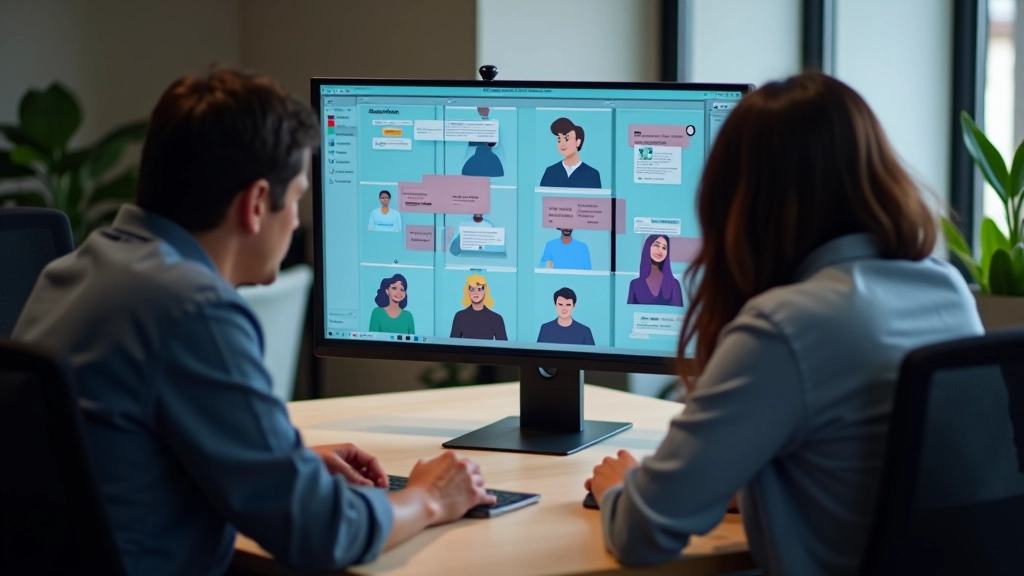
Here’s where the prototype actually earns its keep. You’re not asking people what they think—you’re watching them try to use it. Do they find the button? Do they understand what happened when they clicked it? Can they complete the flow without getting lost?
Start with 5 people minimum. That’s enough to spot major problems without needing statistical significance. Watch them attempt realistic tasks without guidance. Don’t explain what you built. Let them figure it out. The moments where they hesitate or backtrack? Those are your design problems waiting to be fixed.
“Testing revealed that users weren’t clicking our modal’s close button—they expected to click outside the modal. Changing that one interaction pattern made the whole experience feel more intuitive. We caught it in prototyping, not in production.”
— Design lead at Malaysian fintech startup

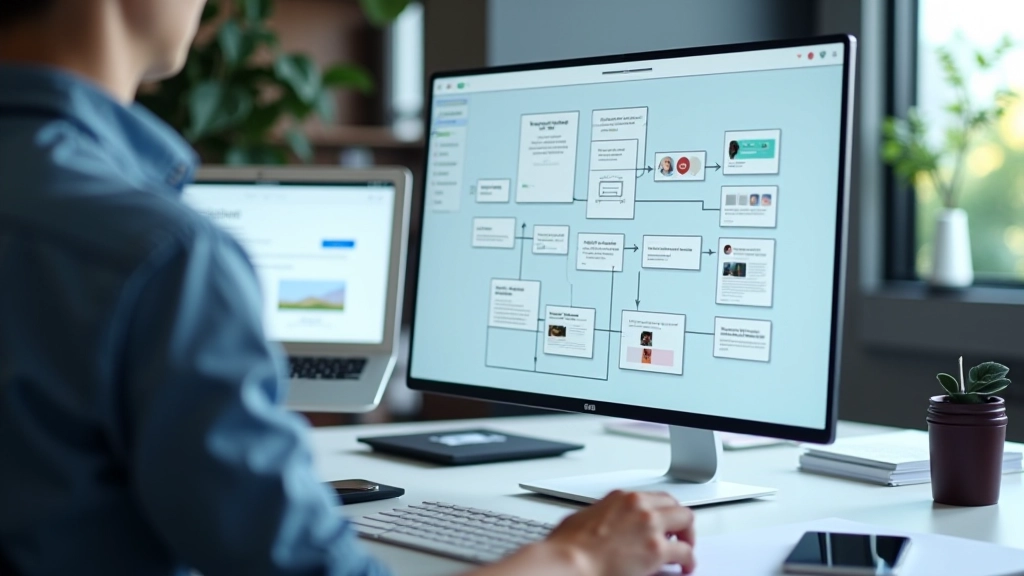
Once you’re comfortable with basic interactions, you can get more sophisticated. Conditional prototypes show different screens based on user input. If the email field is empty, show an error state. If they filled it correctly, proceed to the next screen. You’re building logic into the prototype itself.
This is where prototypes start replacing design specs entirely. Instead of writing “if the form has validation errors, show this state,” you’re showing it interactively. The prototype becomes the specification. Developers can look at it and understand exactly what needs to happen.
Real talk: don’t overcomplicate your prototype trying to handle every edge case. You want it interactive enough to test core assumptions, but you don’t want to spend weeks building something that should take days. The goal is learning, not perfection.
Your prototype is now the bridge between design and code. Make the handoff smooth.
Create a simple interaction guide. What triggers what? What’s the timing? Developers shouldn’t have to reverse-engineer your prototype. A one-page summary listing each interaction and its timing is gold.
Group related screens together. Use consistent naming. Add notes explaining why you made certain interaction choices. This saves developers from asking you the same questions weeks later.
If you’re using a component library, make sure developers understand which components you used and how they interact. Consistency in the prototype should translate to consistency in the code.
Stop explaining your designs in meetings. Show them. A working prototype answers questions that static mockups can’t. How does it feel when you click that button? Does the flow make sense? Would users actually understand what to do next?
You don’t need perfect code. You don’t need to build everything. You need enough to test your core assumptions and validate that your interaction patterns actually work. That’s what prototyping is—rapid learning before real development begins.
Start small. Pick one user flow. Add interactions. Test with real people. Iterate based on what you learn. That’s the process. You’ll be amazed at how many problems you catch before any developer writes a line of code.
This article provides educational information about prototyping practices and design methodologies. The techniques and approaches described here are based on industry best practices and real-world design workflows. Your specific needs may vary based on your team size, project scope, and technical environment. We recommend adapting these approaches to fit your particular circumstances. For specialized guidance on your design projects, consider consulting with experienced design practitioners or mentors within your organization.